Ski bindings are one of the most important parts of your skiing equipment. Having improper ski bindings can result in bad maneuvering that will also take away from your pace, but more importantly can result in injuries. It’s easy to forget about the part that keeps you strapped onto your ski when you are traveling at an incredible pace down a slope. But ski adjustments should always be done before heading out.
Without using bindings, it would be nearly impossible to balance yourself on your skis. And if they aren’t fitted correctly on your ski boots, the same problem will occur and result in bad injuries. Ski bindings are made by different manufacturers, with different shapes and sizes, so having a bit of knowledge on how they work should count in your favor.
Here we will look at what ski bindings are, how to adjust them on your skis, and explain what you need to look out for before buying your own.
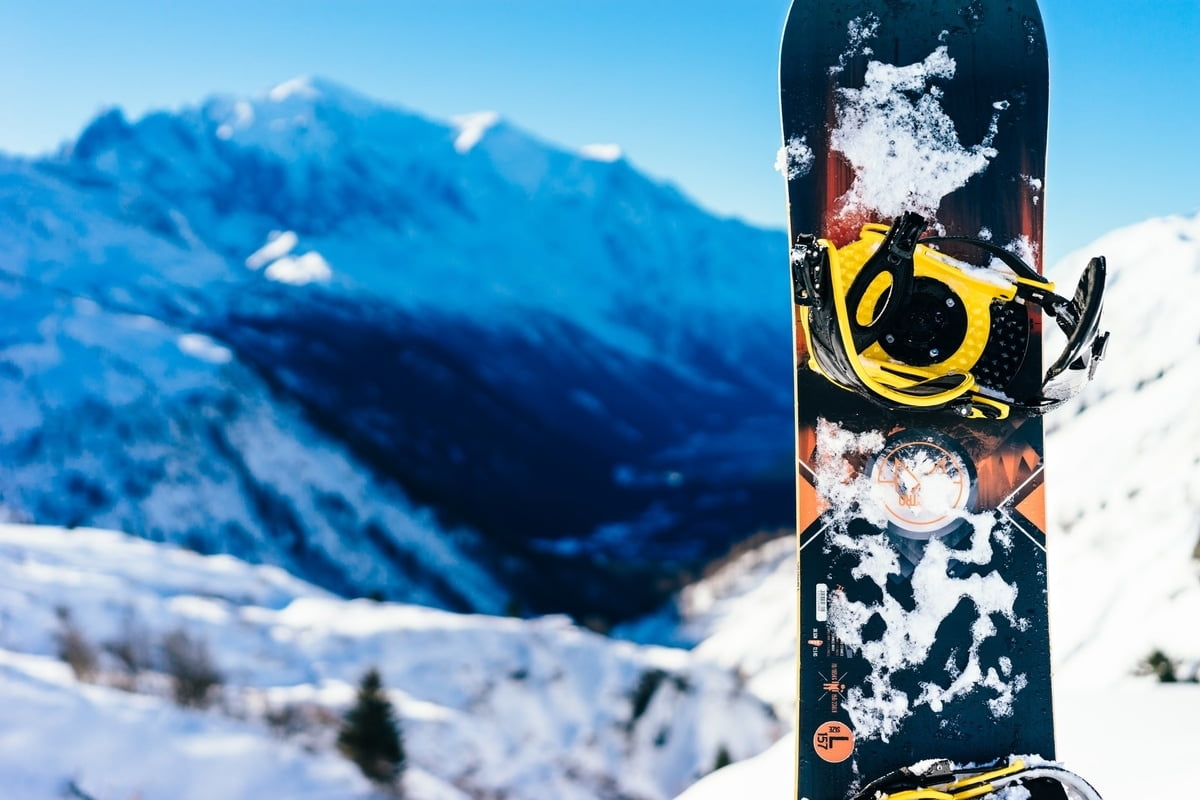
Note: Bindings are important for both skis and snowboards. Be sure to look for the best snowboard binding if you dabble in a bit of boarding too.
Quick Jump
What are Ski Bindings?
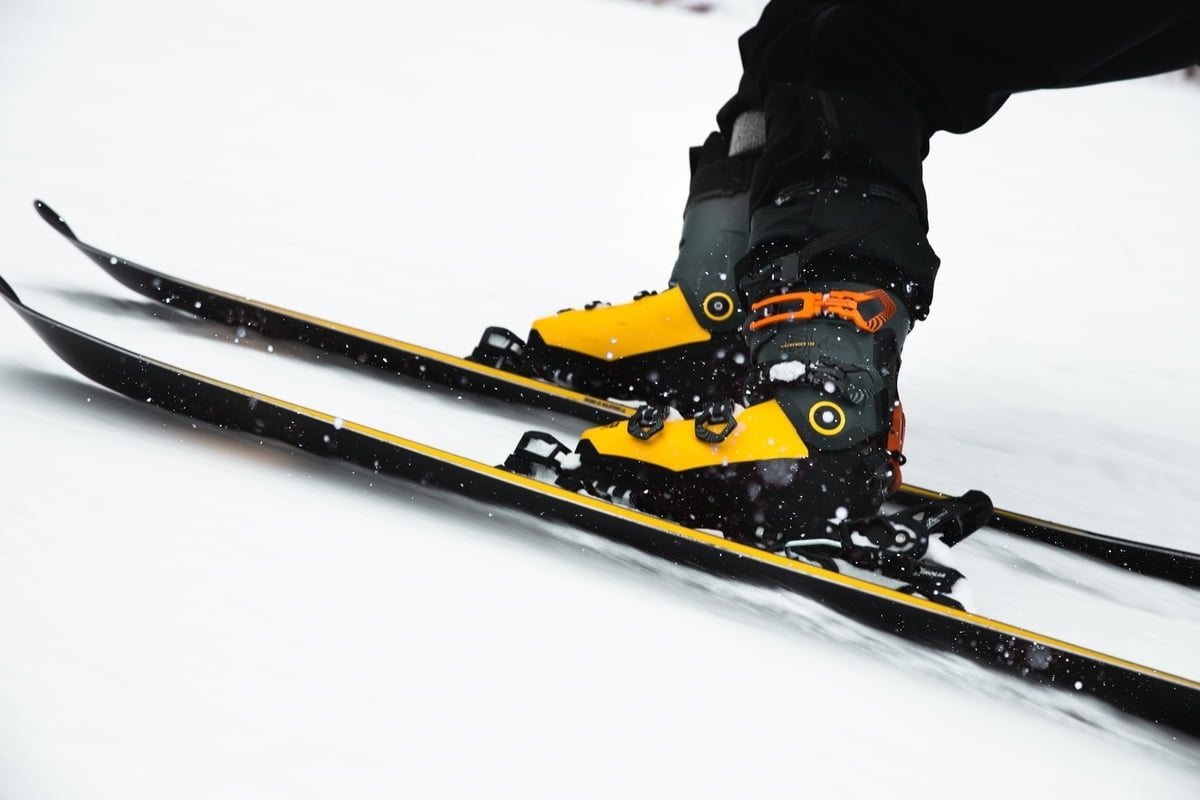
Ski bindings are easily explained as a device that connects your ski boots to your skis that aids in moving easily on your skis. They also release when a certain amount of pressure is put on them, which releases your boot. That specific mechanism is to help you avoid any unnecessary injuries while skiing in the case of a fall or heavy impact. It is especially helpful if you are on your downhill skis when going down a mountain or slope with incredible pace.
Adjusting Ski Bindings: Before You Start The Process
The process of adjusting your ski bindings is not that simple but with some basic knowledge, you’ll pick it up in no time. Ski bindings are a unique gift for skiers, but before buying anything you would need to know the following about the person:
- Their age
- Height
- Weight
- Boot size
These factors are necessary when you want to either adjust ski bindings or buy them. A ski binding is generally separated into two parts, the heel, and the toe. The toe part has the toe DIN, the toe piece, and the anti-friction device. The heel part has the heel DIN, heel piece, and brakes.
Tip: Keen for full days out on the slopes? Consider investing in a ski backpack to keep your goodies
How to Make Your Ski Binding Adjustments
Here we’ll go through the entire process of how to adjust ski bindings to fit your boots. We’ll go through the entire process step by step so it’s easy to follow.
Step 1: Find the Correct Size
The first step is to always look at your ski boot size. It will be underneath your ski boot and is normally indicated in millimeters. If there is no size at the bottom be sure to check the inner or outer sides of the heel. The distance between the heel part and the toe part needs to be exactly that measurement with the boot fitting perfectly in between the two.
Step 2: Adjust the Front of Your Boot
When you are adjusting ski bindings to fit your boot, make sure that there is no space between the bottom of the toe part of your boot and the binding toe bar. You can make use of a piece of paper and slide it in between these two parts.
If the paper pulls out easily, make sure to tighten it. As soon as you struggle to remove the paper, you can move onto the next step. Just note that you shouldn’t over-tighten the toe bar and if your paper rips or tears as you try to take it out, it means it is too tight.

Step 3: Adjust the Back of Your Boot
Similar to what you did at the front, you will need to do at the heel of your ski boot. For this step, you won’t be needing paper but you have to make sure that the back part of the binding and your boot have no spaces between them. And ensure that when you pull up the back part of the binding that it snugly fits onto your boot.
Step 4: Set Your DIN
Set your DIN on both sides by using a DIN calculator that measures your DIN level. For both the back and front, depending on the model of ski bindings, adjust it to meet your exact DIN level. If you’re unsure of what a DIN level is, keep reading as you’ll find out soon.
Step 5: Test Them Out
Unfortunately before deciding to take on the slopes, you will need to test to see if it fits right and if the DIN settings are correct. Here you will see if you can generate enough force to easily have the boots loosen from the bindings. If it comes off way too easily, then adjust the DIN.
Just remember that if the DIN is too high, it will result in the boot not coming loose. Do the same and feel how the boot fits in between the ski bindings. If you still feel like there is too much space, tighten it until it feels good.
The above is just a short overview and is meant to make you understand the process of ski binding adjustments. You will only get better with practice and time but if you feel uncertain about your adjustments, be sure to check with a professional.

How To Adjust Ski Bindings for Brand New Boots
If you are a new skier and have already bought the best leather gloves, boots, and skis, and you’re wondering how to do it yourself, don’t worry as the process is the same. Each step should be followed exactly but newer and inexperienced skiers should have their’s looked at before heading out.
What is DIN?
DIN, which is short for Deutsches Institut für Normung, is the industry scale of the amount of force it will take for your ski bindings to let go of your skis. It considers different factors of your body to measure the perfect amount of force you would need to make your ski bindings loosen and let go of your boot. Using a DIN calculator or a DIN setting chart is the best way to determine the force.
In recent years the International Standards Organization, or ISO for short, has also adopted the very same principles with their own calculator or chart, but DIN is still the preferred binding setting. Normally when you purchase your bindings, adjustments will be done for you at the store, unless you purchase it online and they don’t ask for your DIN level.

Things to Know Before You Buy Ski Bindings
Buying ski bindings isn’t as simple as choosing the best kid’s ski socks. The decision should not be taken lightly since you can injure yourself if it’s done without any thought. The main factors that you should be looking at before purchasing are the skis bindings DIN range, brake width, and binding type. The more aggressive you are on the slopes, the stronger the equipment should be.
DIN Range
Firstly, you should always know your DIN level before purchasing bindings, unless they can measure it for you at the store. DIN range is a meter that is located on both the toe and heel part of ski bindings. Remember that you need to have a pair that is within your range, otherwise, they will keep popping off.
Be sure to check that the bindings have a DIN range that is higher than your DIN level. It can save you money if you pick up any weight, grow more, or if you are an aggressive rider. The higher the DIN range, the more durable the bindings are.
Brake Width
It is a requirement that all ski bindings come with a safety brake. They do however come in different widths but they are replaceable. Be sure to check that the brake width is at the exact width of your skis. And be sure to check that they aren’t more than 20 millimeters wider than the width of your skis.
Binding Type
Since there are different types of bindings for different disciplines within the sport, be sure to choose the correct one. Downhill bindings are the most common of all types. They are made with safety and performance in mind.
Alpine tour bindings are made for hiking and uphill skiing. The toe doesn’t release with the heel, which makes your journey easier as you climb. Race bindings are made for what their name says, racing. They are a lot narrower since the racing skis are narrower.
Start Setting Ski Bindings By Yourself
Now that you know how to adjust bindings, you should give it a go. It’s a very important process and should not be taken lightly. If you are new to doing it yourself, be sure to test it out every time before you hit the slopes.
Be sure to follow the step by step guide, and if you feel confused, restart the process until you get it done perfectly. We look forward to seeing you on the slopes but just remember to pack a heated jacket, since the slopes can be a cold place.

